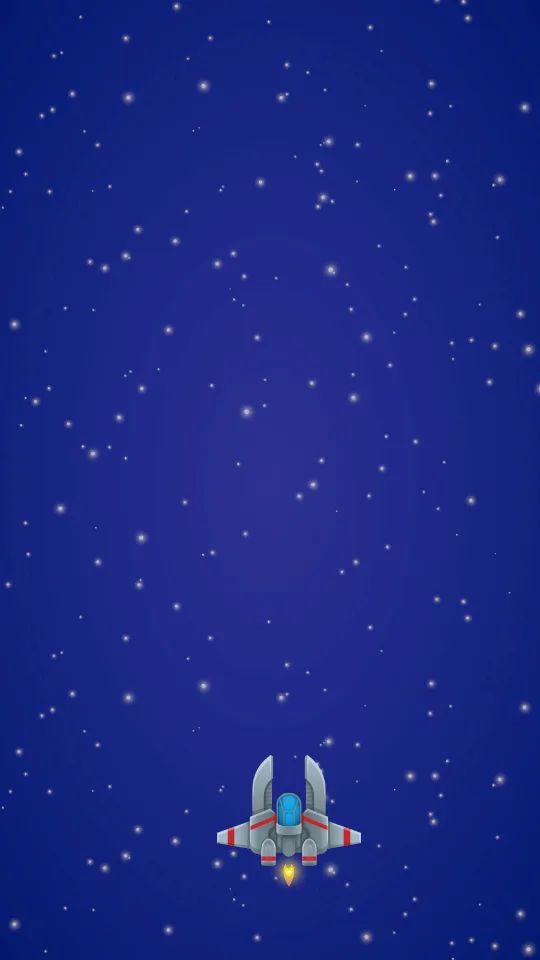
Controls are a data pipeline
Start with lesson 1's scene and save it as SEU_02_PlayerMove. Finish with WASD, arrows, or a gamepad stick moving the ship inside the screen. Remember that a scene copy does not preserve a separate version of its code.
Pressing D produces a keyboard signal. A binding associates it with the intention Move. The Action returns Vector2 (1, 0). Code multiplies that direction by speed and time to calculate a position. The Action layer means gameplay code does not need to distinguish D from a stick.
| Input | Expected Vector2 | Meaning |
|---|---|---|
| Released | (0, 0) | Stationary |
| D | (1, 0) | Right |
| W | (0, 1) | Up |
| W + D | Diagonal with length 1 | No diagonal speed boost |
| Partially tilted stick | Length below 1 | Slower movement |
Create Move after understanding its purpose
Under _ShootEmUp/Input, create an Input Actions asset named ShmupControls. Open it and create an Action Map named Gameplay. Add Move, with Action Type Value and Control Type Vector2.
Add an Up/Down/Left/Right Composite for WASD, keeping Digital Normalized mode. Add another for arrow keys and a <Gamepad>/leftStick binding. Leave Fire for the shooting lesson.
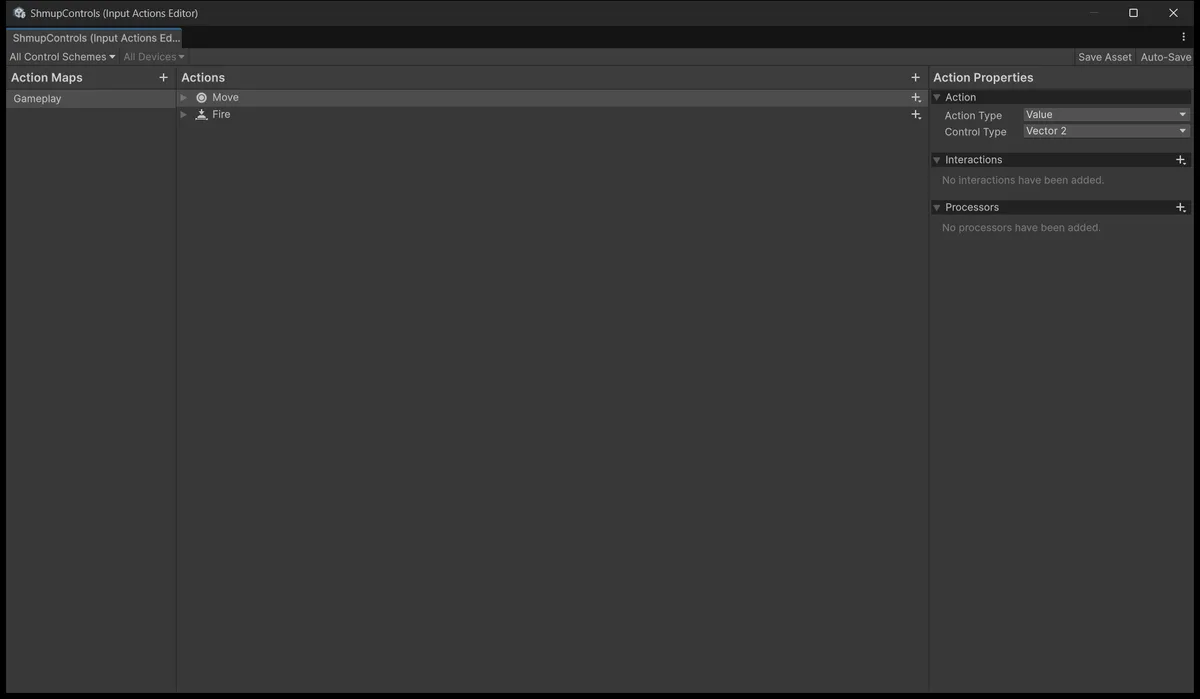
Save Asset. Control Schemes group devices when selecting a scheme; this direct Action-reading exercise does not require separate schemes.
Select ShootEmUp.asmdef, add Unity.InputSystem under Assembly Definition References, and Apply. If the InputSystem namespace is missing, inspect this reference before reinstalling the package.
Two rhythms: read intent, then move physics
With the default dynamic input update mode, read movement in Update. Move the Rigidbody in FixedUpdate, Unity's physics step. The most recent vector bridges those two rhythms.
Create the complete file before attaching the component:
Assets/_ShootEmUp/Scripts/Player/PlayerMovement.cs
using UnityEngine;
using UnityEngine.InputSystem;

namespace ShootEmUp.Player
{
    [RequireComponent(typeof(Rigidbody2D))]
    public sealed class PlayerMovement : MonoBehaviour
    {
        [Tooltip("Input Actions asset that contains the Gameplay/Move action.")]
        [SerializeField] private InputActionAsset controls;

        [Tooltip("World units per second at full stick / key press.")]
        [SerializeField] private float speed = 8f;

        [Tooltip("Keep this much distance (world units) between the ship pivot and the screen edge.")]
        [SerializeField] private Vector2 edgePadding = new Vector2(1.2f, 1f);

        private Rigidbody2D body;
        private InputAction moveAction;
        private Vector2 moveInput;
        private Vector2 minBounds;
        private Vector2 maxBounds;

        private void Awake()
        {
            body = GetComponent<Rigidbody2D>();
            moveAction = controls.FindAction("Gameplay/Move", throwIfNotFound: true);
            CacheCameraBounds();
        }

        private void OnEnable()
        {
            moveAction.Enable();
        }

        private void OnDisable()
        {
            moveAction.Disable();
        }

        private void Update()
        {
            moveInput = moveAction.ReadValue<Vector2>();
        }

        private void FixedUpdate()
        {
            CacheCameraBounds();
            var target = body.position + moveInput * (speed * Time.fixedDeltaTime);
            target.x = Mathf.Clamp(target.x, minBounds.x, maxBounds.x);
            target.y = Mathf.Clamp(target.y, minBounds.y, maxBounds.y);
            body.MovePosition(target);
        }

        private void CacheCameraBounds()
        {
            var cam = Camera.main;
            var halfHeight = cam.orthographicSize;
            var halfWidth = halfHeight * cam.aspect;
            var center = (Vector2)cam.transform.position;

            minBounds = center - new Vector2(halfWidth, halfHeight) + edgePadding;
            maxBounds = center + new Vector2(halfWidth, halfHeight) - edgePadding;
        }
    }
}
Awake finds the body and Action. OnEnable/OnDisable control listening. Update stores the vector; FixedUpdate calculates a destination and calls MovePosition. This does not mean all input behaves like Move: quick button presses need appropriate button-reading methods.
The ship's center has smaller bounds than the screen
Lesson 1's camera has half-width 4.5 and half-height 8. If the ship center reaches X = 4.5, half the ship is already outside. Valid center bounds therefore subtract half the visible ship dimensions from the camera limits.
For a ship 2.4 units wide and 2 units tall, Edge Padding (1.2, 1) gives X = ±3.3 and Y = ±7. For other artwork or scale, use its actual visible half-size. Clamp keeps the center inside that interval.
The code updates bounds during play to handle aspect changes, assuming an unrotated orthographic camera. Lesson 10 shakes a child camera while gameplay continues to use a stable frame.
Wire references and test one layer at a time
Add PlayerMovement to Player. The script requires Rigidbody2D; set Body Type Kinematic and Interpolate Interpolate. Kinematic gives position control to the code rather than gravity. There are no colliders yet, so collision settings are not a way to solve fast projectiles in this lesson.
Drag ShmupControls from Project into Controls. Set Speed 8 and Edge Padding to match the ship.
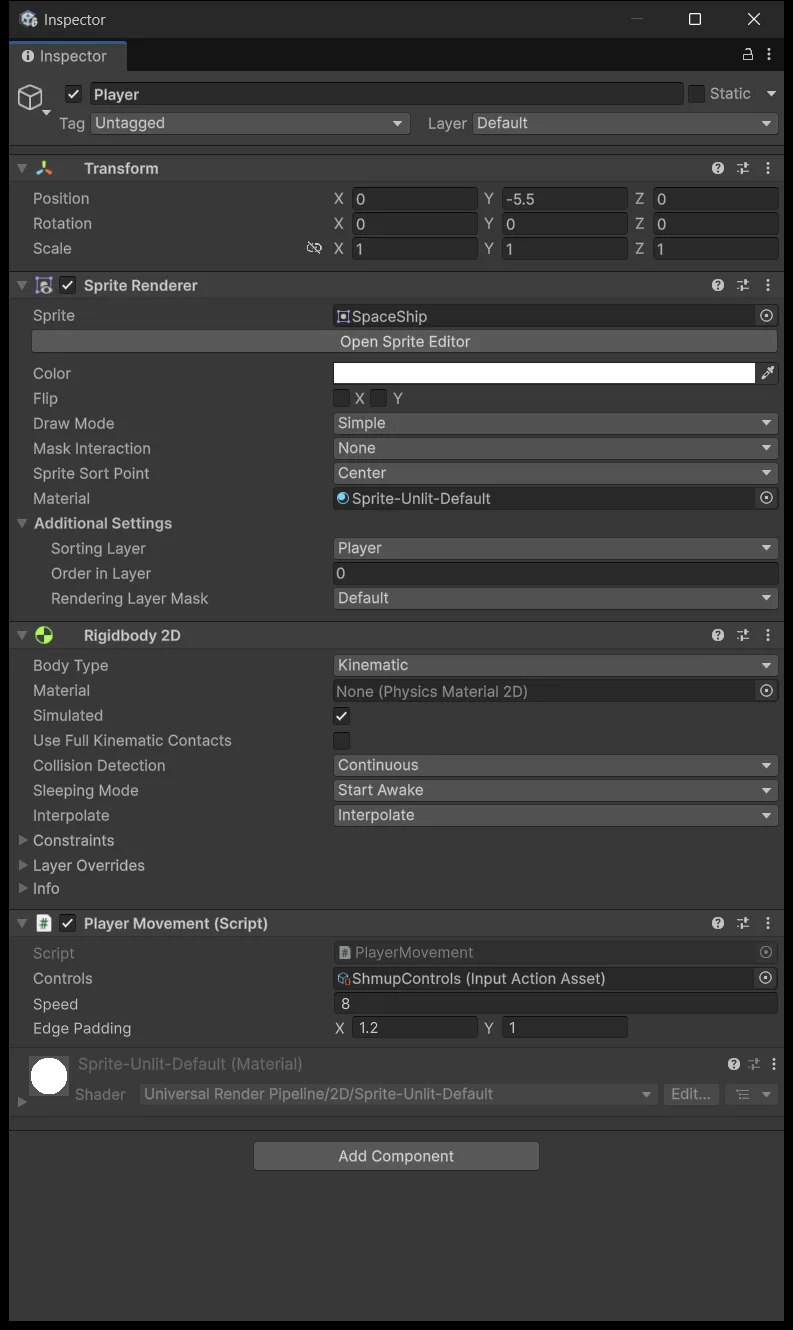
Play, focus Game view, and test horizontal movement, vertical movement, diagonals, then all four edges. Releasing input should stop the ship. With a gamepad, partial stick tilt should move more slowly.
If nothing moves, check focus, saved bindings, the Controls reference, then the Gameplay/Move name. If movement works but the ship is clipped at an edge, adjust padding. These failures belong to different layers.
Experiment with Speed in Play Mode, then re-enter the chosen value after stopping to preserve it. Input now produces movement; lesson 3 adds another Action that creates objects.
Source for this stage
Download all lesson 2 scripts. The archive contains code and assembly definitions, not scenes, prefabs, or the pictured artwork. Assemble the scene using this lesson. When upgrading, replace files at the same paths; never put two versions of a class in Assets.
Next: Shmup #3.