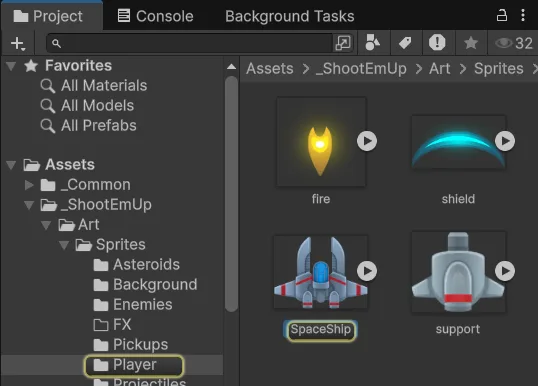
A portrait shooter: steer, fire, survive waves, collect powerups, and restart after losing your health.
- #0–#3 · Screen composition and controls
- #4–#7 · Object lifetime, collisions, data, and waves
- #8–#11 · Sessions, pickups, feedback, and a Web build
Understand the destination before opening the Editor
A shooter appears to run many systems at once. We will break it into questions: what does the camera see, how does input become movement, how long does a bullet live, and who owns the score? Each lesson finishes an observable behavior before expanding it.
You should know C# variables, conditions, loops, methods, and classes. The C# series covers these foundations in Vietnamese. Events and coroutines are introduced where they become useful. This game targets keyboard and gamepad; portrait proportions do not automatically provide touch input.
The screenshots come from the author's reference project. This edition includes source archives for each stage, without prebuilt scenes or prefabs. Some Inspector screenshots predate this edition; the written settings and attached source define the current exercise.
Use a consistent toolchain
The reference project records Unity 6000.3.10f1, URP 17.3.0, and Input System 1.18.0. These are project versions, not a promise that every Unity 6 release has identical menus.
Install Web Build Support through Unity Hub if you intend to export in lesson 11. Create a Universal 3D project named ShmupLab. Unlit sprites and an orthographic camera work in this template. Keep its default renderer to match lesson 10's shader.
Open Window → Package Manager and install the 2D feature set and Input System if needed. Accept the input backend change and restart. Check that Project Settings → Player → Active Input Handling includes Input System. No third-party tooling is needed.
Prepare artwork by role
Use existing artwork or Kenney Space Shooter Extension. Its filenames differ from the screenshots; select by role instead of looking for an identical filename.
| Role | Required artwork | Working name |
|---|---|---|
| Player | Upward-facing ship | Player |
| Projectile | Small vertical shape | Laser |
| Enemies | Two distinct shapes | InsectBasic, InsectFast |
| Asteroids | Small, medium, large | Asteroid |
| Pickups | Three distinct icons | Life, Shield, Rapid |
| Background | Base color and repeating stars | Background, Stars |
Lesson 1 offers an Editor-only star pattern if you lack a seamless texture. Your images may differ in size; we will calculate using pixels, PPU, and world units rather than requiring one asset pack.
Give each resource a home
Create these folders in the Project window:
Assets/
  _ShootEmUp/
    Art/Sprites/
    Art/Shaders/
    Audio/
    Input/
    Prefabs/
    Scenes/
    ScriptableObjects/
    Scripts/
  _Common/Scripts/
  ThirdParty/
_ShootEmUp owns the game. _Common receives the pool in lesson 4. ThirdParty contains external resources. There is no need to organize several future games yet.
Move assets in the Project window so Unity moves their .meta files too. Meta files hold GUIDs: identifiers used by scenes and prefabs to find sprites, materials, and scripts. Losing them can produce Missing references.
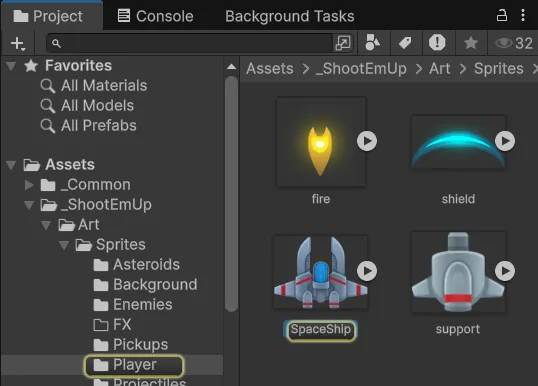
Import one sprite before batch editing
Select the ship image. Set Texture Type = Sprite (2D and UI), Sprite Mode = Single, and Pixels Per Unit = 100, then Apply. Single means one sprite per file; a spritesheet needs Multiple and defined slices.
PPU connects pixels to game dimensions: a 200 px-wide image at PPU 100 and scale 1 is 2 world units wide. The next lesson's camera is 9 units wide, giving you a useful way to estimate the ship's screen coverage.
For backgrounds using Tiled drawing, select Mesh Type = Full Rect. Mipmaps can be disabled for this fixed-camera exercise. Odd image dimensions do not universally prevent compression; support depends on the format and target platform. Optimization is not required to confirm a successful import.
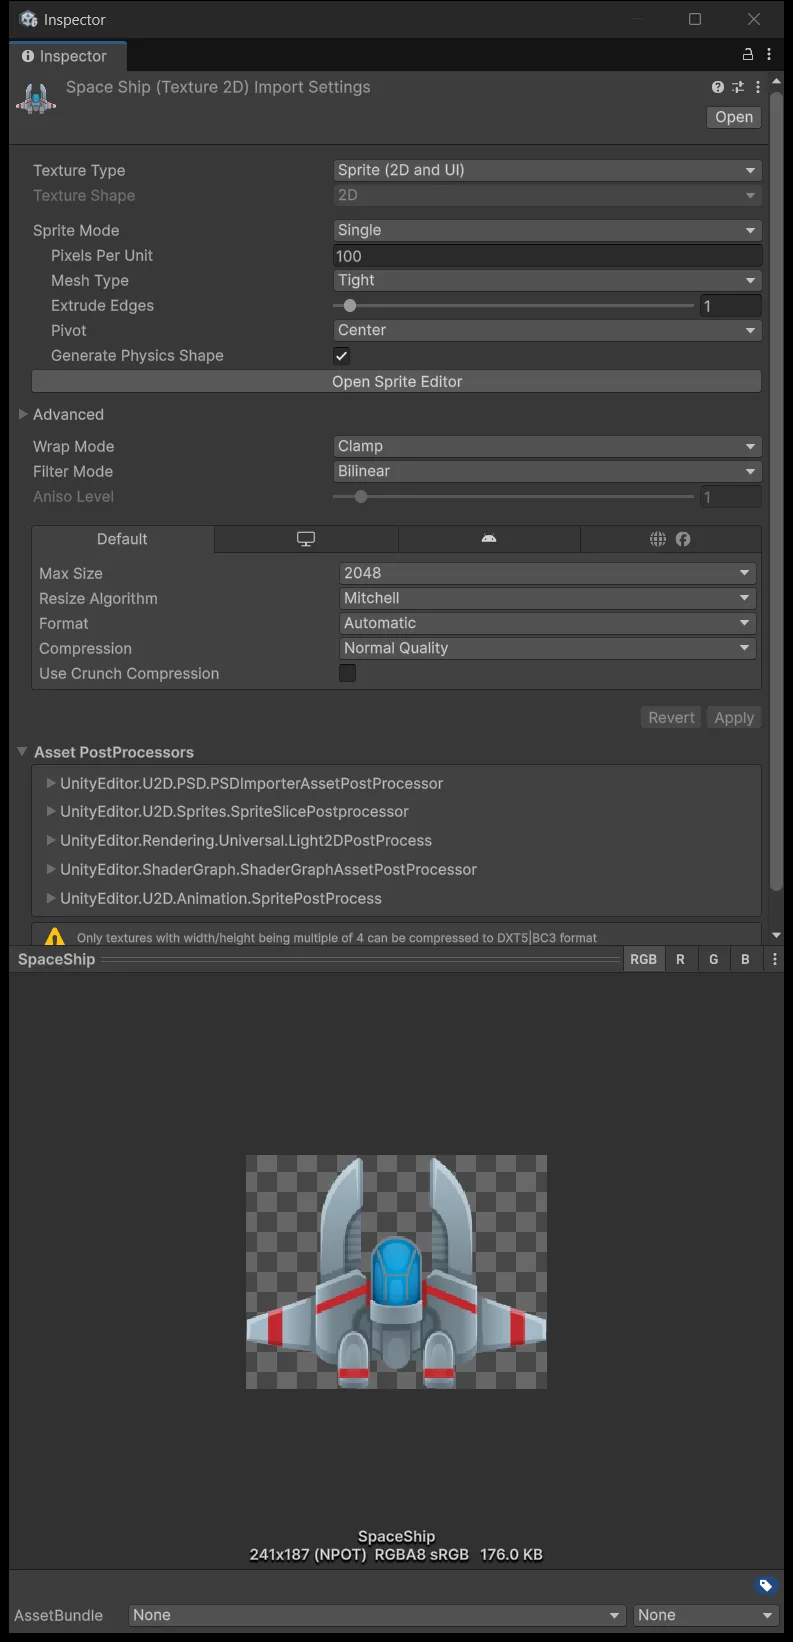
Drag the ship into the scene to test it. If it is invisible, inspect Sprite Mode, slices, and camera position. Delete the temporary object but keep the sprite asset.
Save checkpoints that preserve the whole lesson
Copying a scene does not freeze code: the old scene still references scripts and prefabs you may edit. Returning to an exact lesson requires a project snapshot.
If using Git, create the repository beside Assets, Packages, and ProjectSettings. Ignore generated content:
/Library/
/Temp/
/Obj/
/Logs/
/UserSettings/
/Builds/
*.csproj
*.sln
*.slnx
Keep .meta files, Packages, and ProjectSettings. Under Project Settings → Editor, choose Asset Serialization = Force Text. Git LFS is an additional option for substantial binary resources; a custom merge driver is not required to begin.
After each lesson, stop Play Mode, save, commit, and create your own lesson-XX tag. The website ZIPs contain tutorial source, not complete substitutes for your project checkpoints.
Ready for lesson 1
Continue when the project opens without red errors, a dragged ship sprite appears, Input System is installed, and you know where to save scenes. Scripts belong under _ShootEmUp/Scripts; lesson 1 establishes their assembly before using them.
You now have a repeatable starting environment. Next, build the screen from its camera to its individual visual layers.
Next: Shmup #1.